Showing posts with label tutorial. Show all posts

Tuesday, 19 June 2012

MR BOND, I EXPECT YOU TIE DYE

Whilst Goldfinger may have had to wait a long time for Mr Bond to tie dye anything (that man never has any downtime; plus I'm not sure it sits so well with the suave look) I have been rather keen on dying, bleaching, ripping, cutting, and studding my clothes as of late. It's mainly because I've been craving a fresh look without the budget to match, but also it's a whole lot of good clean fun. 

So a request from Lois at Carrot Top couldn't have come at a better time: Dirty Fresh Laundry wanted to send me a brand new t-shirt, then I was to customise it in any which way I could. YES. Basically a licence to go crazy. 

When it arrived it looked like this:


Photobucket
The t-shirt is of an excellent quality, totally opaque, and the print is the sort that will age pleasingly. Just a heads up on sizing: I'm a 10-12 on top and this is a men's small. I ordered in that size as I thought I'd have a little extra fabric to play with but it's quite fitted, so just a warning for when you order.

First things first - protect your bath, or wherever you choose to tie dye. I don't want any mums or landlords after my guts! The binbag in my bath was fairly futile but it did help a little, and whenever I got dye on the porcelain, floor, or anywhere, I cleaned it up straight away - you just don't know how it will stain, and you're better safe than sorry, no?


Photobucket
After that I prepared my t-shirt. I followed Shannon's advice - holding the tee in the middle, spin it around so it's like a coil. Tie bands or string around to keep in place. The tighter you tie, the more white space will be left.

Photobucket
You can be as creative as you like with this - when researching tie dyes I found this page and loved all the different dye shapes, so since my boyfriend has been nagging for a tie dye tee for a while, I decided to experiment a little with the shape of his.
Photobucket
Now it's time to make the dye. Glove up! Again, the dye might stain your skin, or worse - you might be allergic to it. Be careful.
Photobucket
I could only find Dylon machine wash dyes (is it me or are dyes harder to find now? In my teens I'm sure I could pick them up from the supermarket or my local chemist. Anyway, I digress) in Flamingo Pink and Ocean Blue, so I made them up in bottles with sports lids (another great tip from Shannon). I only had one sports lid bottle so carved a hole in a normal lid. Again, be careful! I used one part salt, one part dye, and four parts warm water.
Photobucket
Then I attacked my tees with the dyes. I began gingerly but ended up throwing the two full bottles over two t-shirts. I unravelled them to check how I was doing - the long, thin patterned one looked amazing how it was, but the spiral one needed a bit more colour. I opened it out and added more colour to suit.
Photobucket Photobucket
Leave your tee for at least an hour. I left mine all afternoon, conscious of the fact I'd used machine washing dye! I don't have any space in my flat to hang them - especially due to our cream carpet - so placed them in buckets. Use this time to clean the bathroom, think of outfits to wear with your tee, have a brew, daydream about Michael Fassbender.. you get the picture. Then rinse, using a little bit of fabric washing powder or liquid.

Photobucket
After waiting all afternoon I couldn't wait any longer so bunged them in the tumble dryer after they'd drained for ten minutes. My brief from Dirty Fresh Laundry was to customise this tee in any which way possible, so a few knots and studs later, my tee was finally finished.
Photobucket
Photobucket PhotobucketPhotobucket
This tee will almost certainly be most at home on my next trip to Ibiza.. but until then will make the perfect layering piece. I really think the key here is to have a go - I haven't tie dyed since Brownies and even then I probably wasn't responsible enough to do any of the process. Admittedly I like the pattern on my boyfriend's tee better - I will have to get him to model it - but the beauty of tie dye is that you're not completely sure how the pattern will work out. Let me know if you do try, and send me pictures of your dye pattern!

Sunday, 3 June 2012

DIY: Tying the Knot

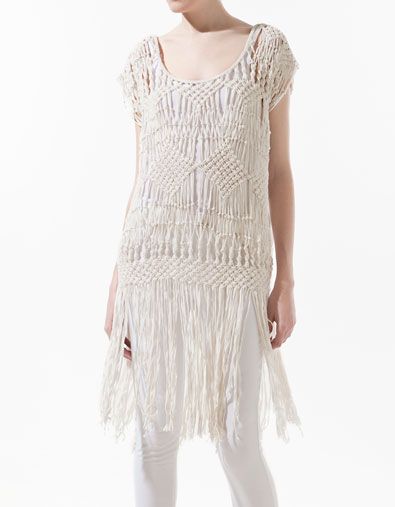
I was on my weekly (who am I kidding, daily) window-shop in Zara a few weeks ago when my eyes fell on an interesting texture nestled within their all-white package. Heavy, with knots, fringes and weaves, all in the one non-colour. It wasn't love at first sight, but after a few more trips I realised it was the perfect beach-to-bar bohemian cover-up, that could easily be worn back in Manchester over a pastel dress or with neon jeans.

Sadly, this love was forever doomed to be unrequited. £60 for a Zara top will always be a bitter pill to swallow, love of my life or not. The more I studied it - daily visits, remember - the more I realised that actually, I could probably make an appropriation of this myself.

So I did.

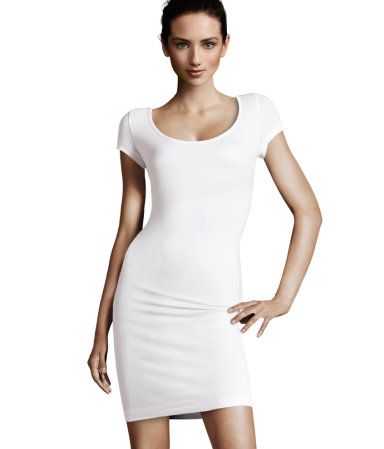
I started with a mid-thigh length white jersey H&M t-shirt dress. I'd bought it well over a year ago and never worn it, as it was just a bit too see-through and clingy for my tastes.
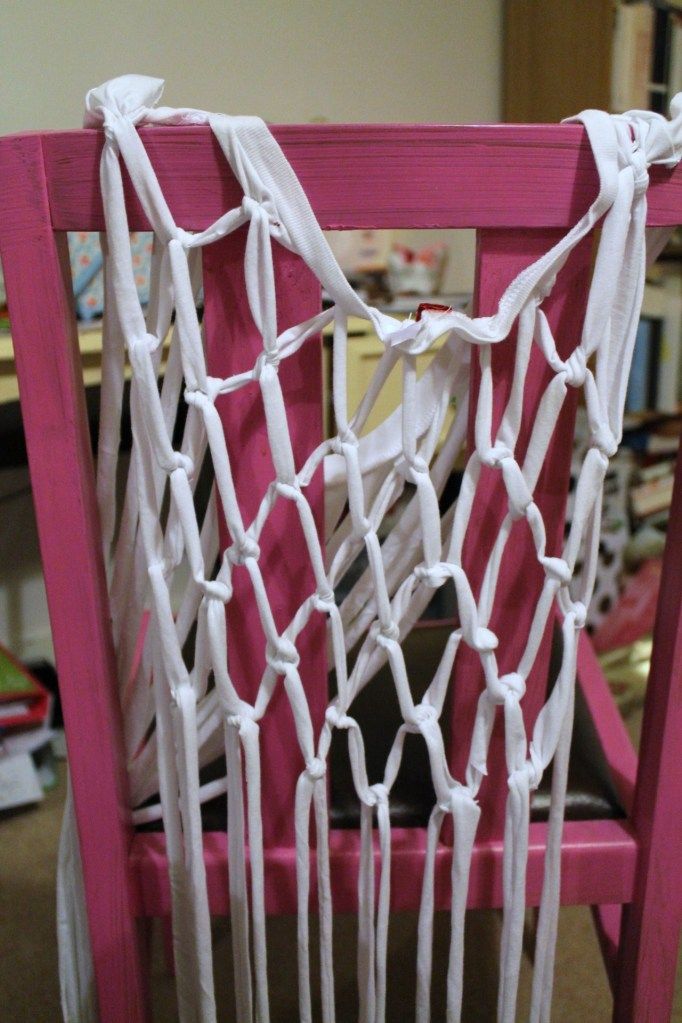
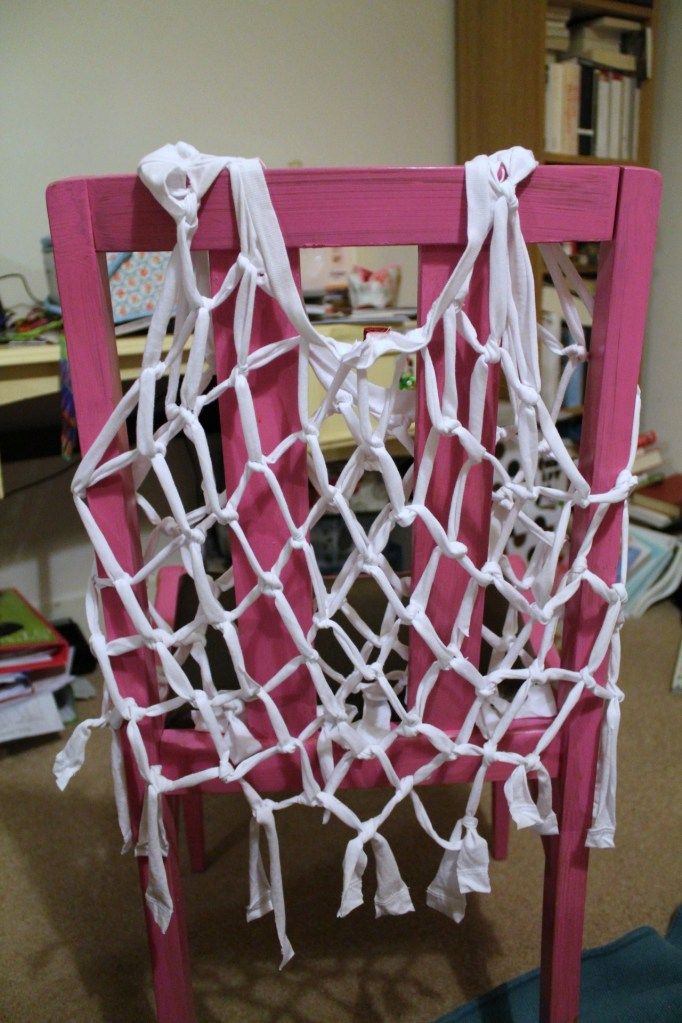
I then cut up either side, and chopped the arms off. I cut really long fringes from the bottom hem right the way up to the top seam/collar - you should cut an even amount of fringes. Then I placed it over the back of a chair like it was being worn, but you could use a mannequin or a willing volunteer.

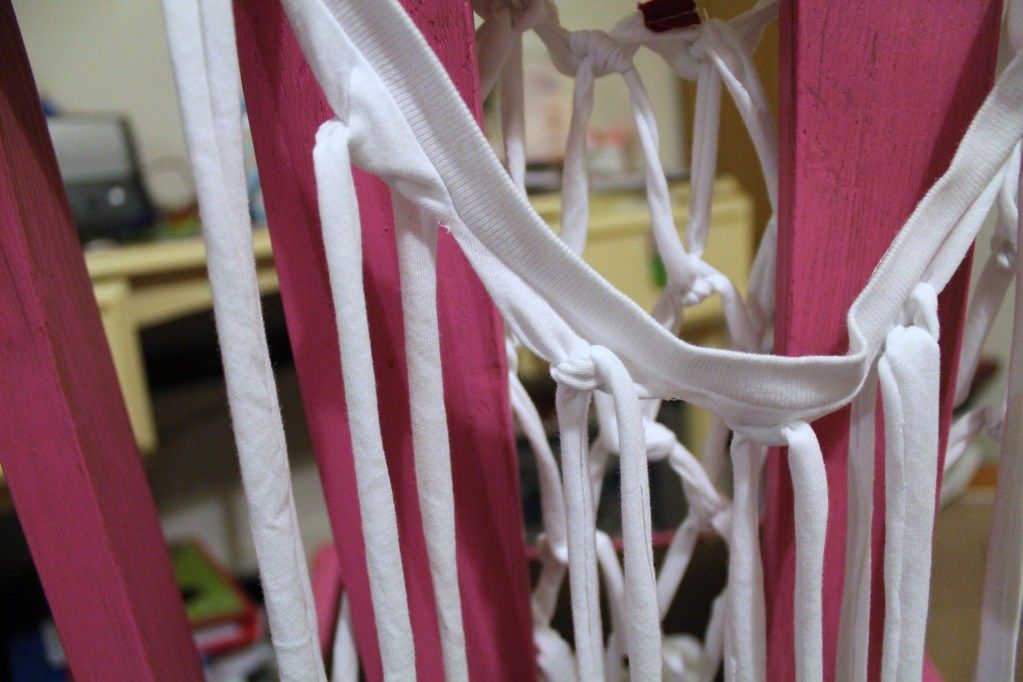
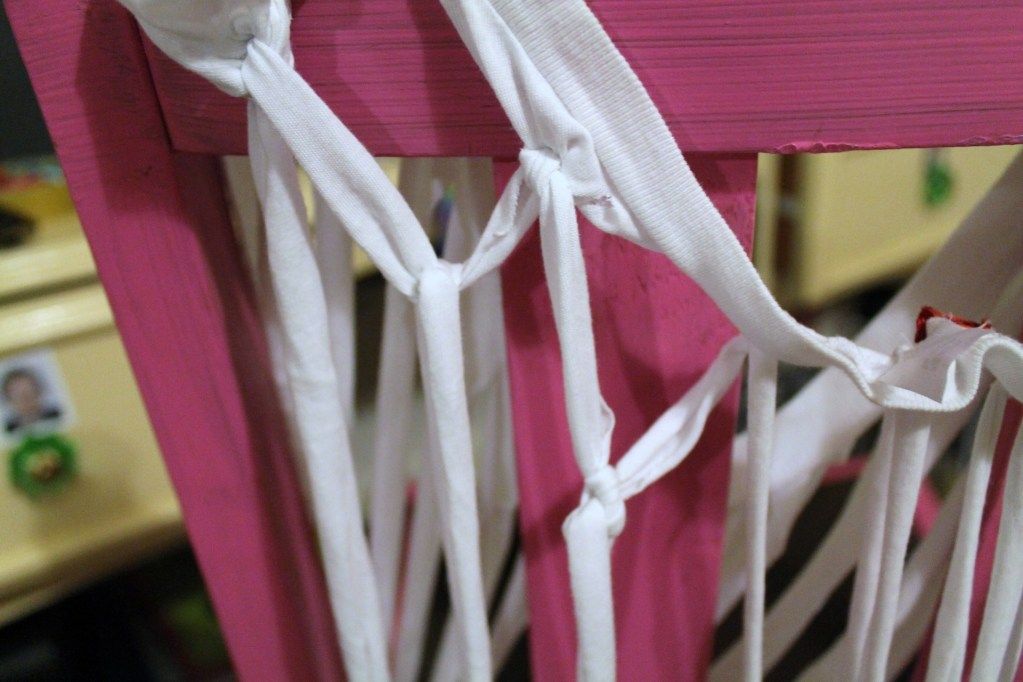
Work on one side first. Starting job is to tie each fringe to the one next to it. I used a very simple knot - I think it's called an ordinary knot but I imagine it's the one you're used to using. 
Once you've done that from one side to the other, take the second fringe in and tie it to the next fringe along to make a diamond shape. It's okay that one will be hanging loose at the side - we'll deal with that later.
Carry on doing this down one side (alternately including the outside fringes) until you feel you've gone far enough to put your arms through (this is where a volunteer or mannequin would be useful). I went this far:
Then turn it around and do the same on the other side. After you've reached the same point, you can now work all the way around the tee - start with the side fringes that you had to miss every other diamond. So to explain better - attach the front left side fringe to the back right side fringe, then carry on making your diamonds right the way around - get your volunteer to turn, or turn the tee around the chair - until you reach your desired length.
Et voila! A simple, unusual DIY that really didn't take long at all - this probably took me around twenty minutes. Do remember that this was once a dress so you lose a lot of length doing this. Also, it's easy to get muddled up with your fringes, so just remember that if you're making a diamond shape you're doing it right - but if you do do it wrong don't worry! It will just add to the pattern.


Photobucket
Photobucket
Worn with a Sweaty Betty sportsbra and a complete lack of make-up. Blergh

This was simply meant to be a practise and I didn't expect it to come out so well, but I may well be wearing this top as a beach cover-up on my holiday. I think this knotting effect would look lovely as a trim or a feature on a t-shirt, and I'm going to have a go at doing different types of knotting and weaving, too. Let me know if you have a go and post a picture of your result!