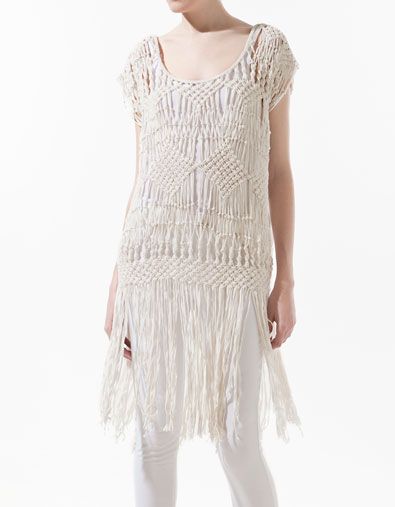
Sadly, this love was forever doomed to be unrequited. £60 for a Zara top will always be a bitter pill to swallow, love of my life or not. The more I studied it - daily visits, remember - the more I realised that actually, I could probably make an appropriation of this myself.
So I did.
I started with a mid-thigh length white jersey H&M t-shirt dress. I'd bought it well over a year ago and never worn it, as it was just a bit too see-through and clingy for my tastes.

I then cut up either side, and chopped the arms off. I cut really long fringes from the bottom hem right the way up to the top seam/collar - you should cut an even amount of fringes. Then I placed it over the back of a chair like it was being worn, but you could use a mannequin or a willing volunteer.
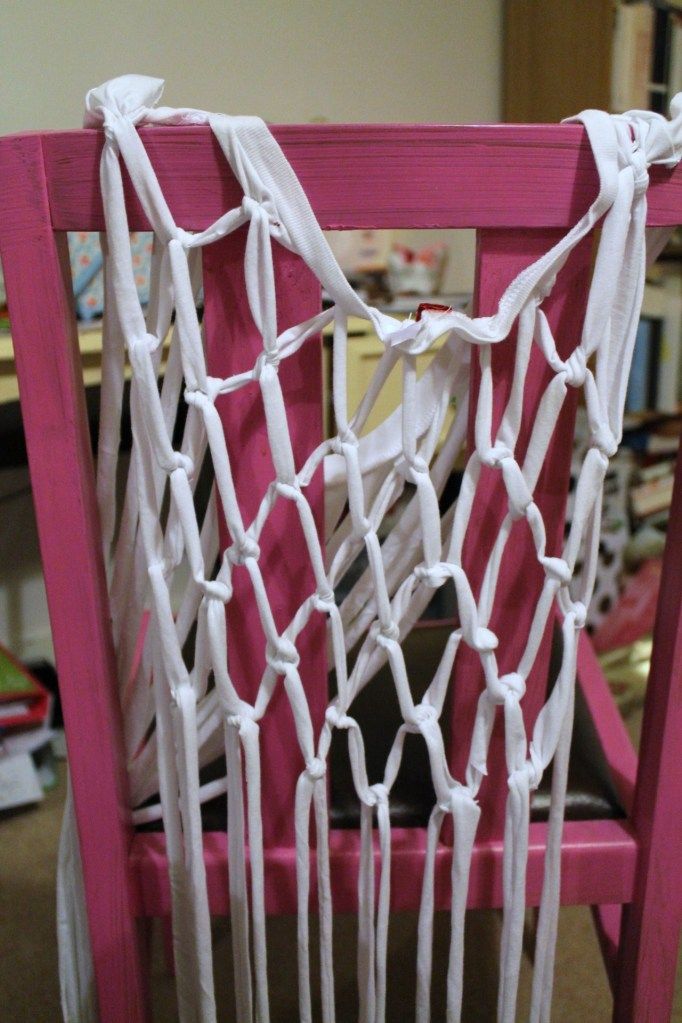
Work on one side first. Starting job is to tie each fringe to the one next to it. I used a very simple knot - I think it's called an ordinary knot but I imagine it's the one you're used to using.
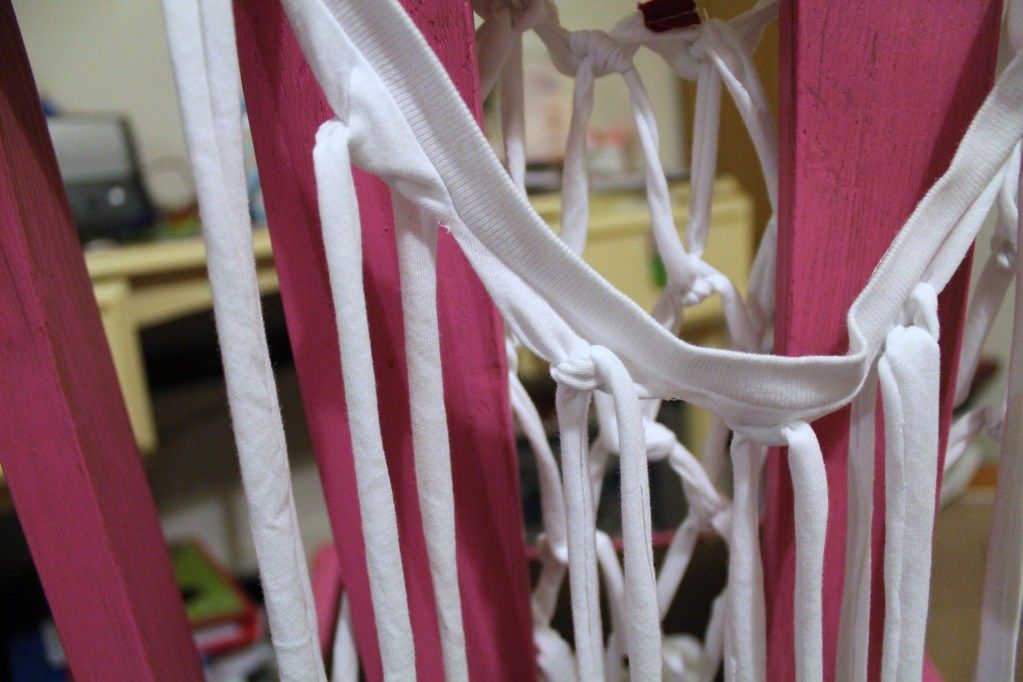
Once you've done that from one side to the other, take the second fringe in and tie it to the next fringe along to make a diamond shape. It's okay that one will be hanging loose at the side - we'll deal with that later.
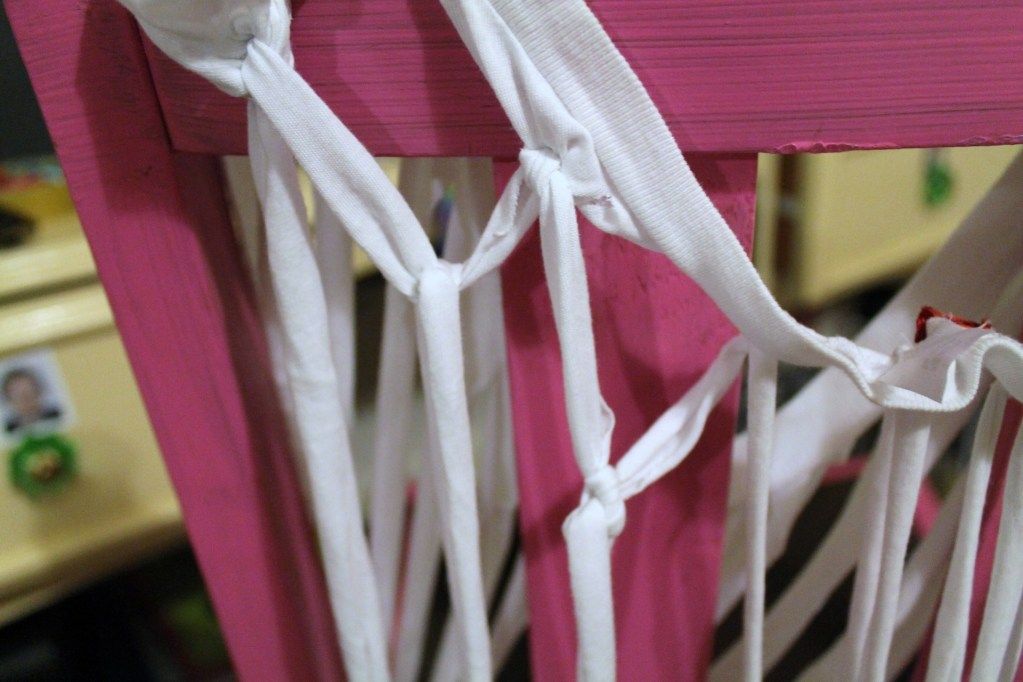
Carry on doing this down one side (alternately including the outside fringes) until you feel you've gone far enough to put your arms through (this is where a volunteer or mannequin would be useful). I went this far:
Then turn it around and do the same on the other side. After you've reached the same point, you can now work all the way around the tee - start with the side fringes that you had to miss every other diamond. So to explain better - attach the front left side fringe to the back right side fringe, then carry on making your diamonds right the way around - get your volunteer to turn, or turn the tee around the chair - until you reach your desired length.
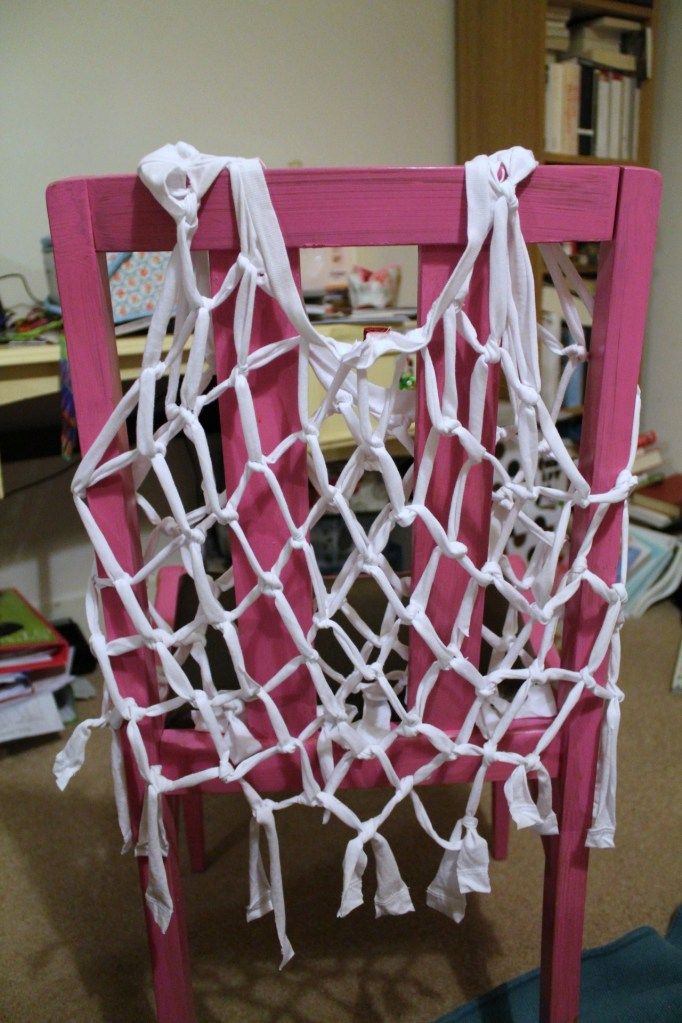
Et voila! A simple, unusual DIY that really didn't take long at all - this probably took me around twenty minutes. Do remember that this was once a dress so you lose a lot of length doing this. Also, it's easy to get muddled up with your fringes, so just remember that if you're making a diamond shape you're doing it right - but if you do do it wrong don't worry! It will just add to the pattern.


This was simply meant to be a practise and I didn't expect it to come out so well, but I may well be wearing this top as a beach cover-up on my holiday. I think this knotting effect would look lovely as a trim or a feature on a t-shirt, and I'm going to have a go at doing different types of knotting and weaving, too. Let me know if you have a go and post a picture of your result!
Oooh how clever of you! You could always use a basic maxi to create one a similar length to the Zara one :) xx
ReplyDeleteIt looks great-such a cute cover up! Love the Ibiza pics too!
ReplyDeleteSuch a cool top great DIY
ReplyDeletexx
leather-clouds.blogspot.com