
Whilst Goldfinger may have had to wait a long time for Mr Bond to tie dye anything (that man never has any downtime; plus I'm not sure it sits so well with the suave look) I have been rather keen on dying, bleaching, ripping, cutting, and studding my clothes as of late. It's mainly because I've been craving a fresh look without the budget to match, but also it's a whole lot of good clean fun.
So a request from Lois at Carrot Top couldn't have come at a better time: Dirty Fresh Laundry wanted to send me a brand new t-shirt, then I was to customise it in any which way I could. YES. Basically a licence to go crazy.
When it arrived it looked like this:

The t-shirt is of an excellent quality, totally opaque, and the print is the sort that will age pleasingly. Just a heads up on sizing: I'm a 10-12 on top and this is a men's small. I ordered in that size as I thought I'd have a little extra fabric to play with but it's quite fitted, so just a warning for when you order.
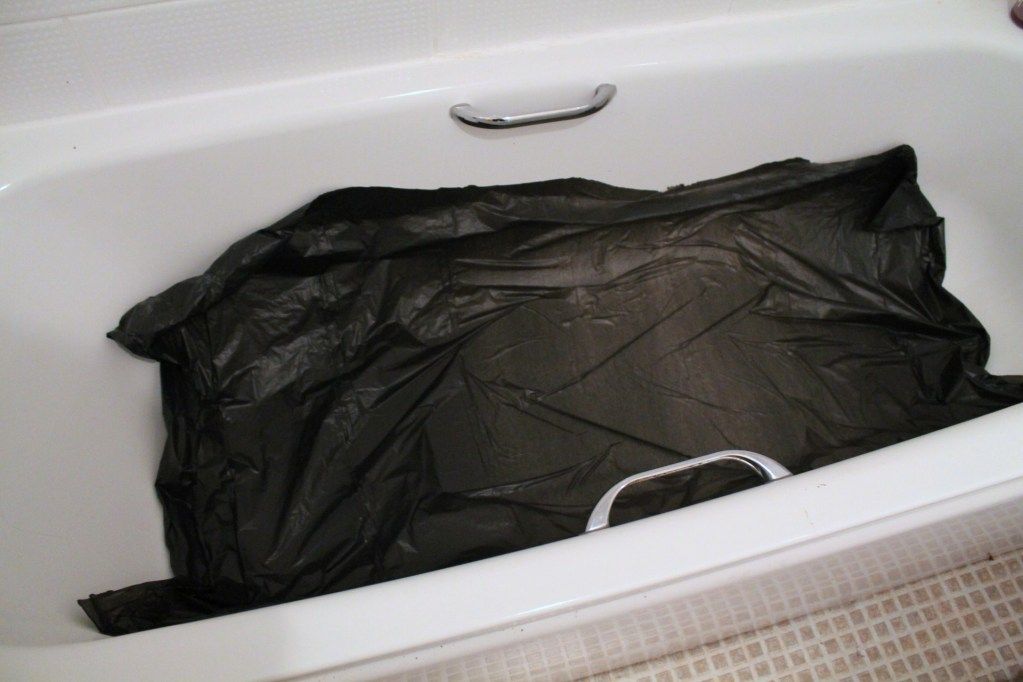
First things first - protect your bath, or wherever you choose to tie dye. I don't want any mums or landlords after my guts! The binbag in my bath was fairly futile but it did help a little, and whenever I got dye on the porcelain, floor, or anywhere, I cleaned it up straight away - you just don't know how it will stain, and you're better safe than sorry, no?
After that I prepared my t-shirt. I followed Shannon's advice - holding the tee in the middle, spin it around so it's like a coil. Tie bands or string around to keep in place. The tighter you tie, the more white space will be left.


This tee will almost certainly be most at home on my next trip to Ibiza.. but until then will make the perfect layering piece. I really think the key here is to have a go - I haven't tie dyed since Brownies and even then I probably wasn't responsible enough to do any of the process. Admittedly I like the pattern on my boyfriend's tee better - I will have to get him to model it - but the beauty of tie dye is that you're not completely sure how the pattern will work out. Let me know if you do try, and send me pictures of your dye pattern!
So much fun! It looks great. I've got some dye I'm waiting to use for a dip dye, might have to go back to the ninties and find some tees to tiedye at the same time!
ReplyDeletexxx
This looks brilliant! I may have to bite the bullet and get a cheapie t-shirt to give it a go myself! :)
ReplyDeleteLucy x
This is an amazing DIY. Everything you did to it looks amazing.
ReplyDeleteThis looks so good shall have to try it!
ReplyDeletexx
Yours is so nice!!!! I really like the fringe knots at the bottom :) xxxx
ReplyDeletetwin posts! my post today is also tie dye themed.
ReplyDeletegreat minds, eh?!
Faboosh DIY Dotty!
x x
Excellent DIY, just what I've been looking for! SUPER MEGA FRESH. Love it - found yourself a new fan.
ReplyDeleteCare to return the follow? :)
www.ameliaisnotcross.blogspot.co.uk
OMG. Such a good good good blessed DIY. The top is absolutely amazing, I want it for my holiday!! Everyone does do tie dye DIY's and make it look so easy but I can't even sew a hem on a skirt or mend a button let alone do anything else. Do more t-shirts, or even sell them! I betcha people will buy them.
ReplyDeleteGemma x
www.gemmasatire.blogspot.co.uk
It really is easy, honest! And even when it goes wrong it's right.
DeleteX
Great mash up of colour studs and fringing, the black letters really help your T pop,great job!Sharon xx
ReplyDeletehttp://www.mypassporttostyle.blogspot.com
looks fun!
ReplyDeletexx,
Meelena
www.theserialshopper.blogspot.com
great love it
ReplyDeletegonna try and do it as well :)
xx
SO glad I just looked at this post. I ruined my Kanye West T shirt by cutting a fringe on it and it just looks STUPID. I'm gonna tie the fringe on that mother bitch right now!
ReplyDeleteAh yeah just tie stuff, put beads in, plait it..!
DeleteX
This is a great DIY, it looks lovely! I really love the colours xxx
ReplyDeletelove this! x
ReplyDelete